本文的主线 定义 => 安装 => 开发 => 打包 => 部署
定义
SpringBoot是什么?
SpringBoot的优势?
1
2
3
| 自动配置 => 大大简化了项目配置
起步依赖 => 大大提高了开发效率
|
安装
1
2
3
4
5
|
brew install openjdk@11
sudo apt install -y openjdk-11-jdk
|
开发
首先 基于Spring Initializr 创建SpringBoot项目
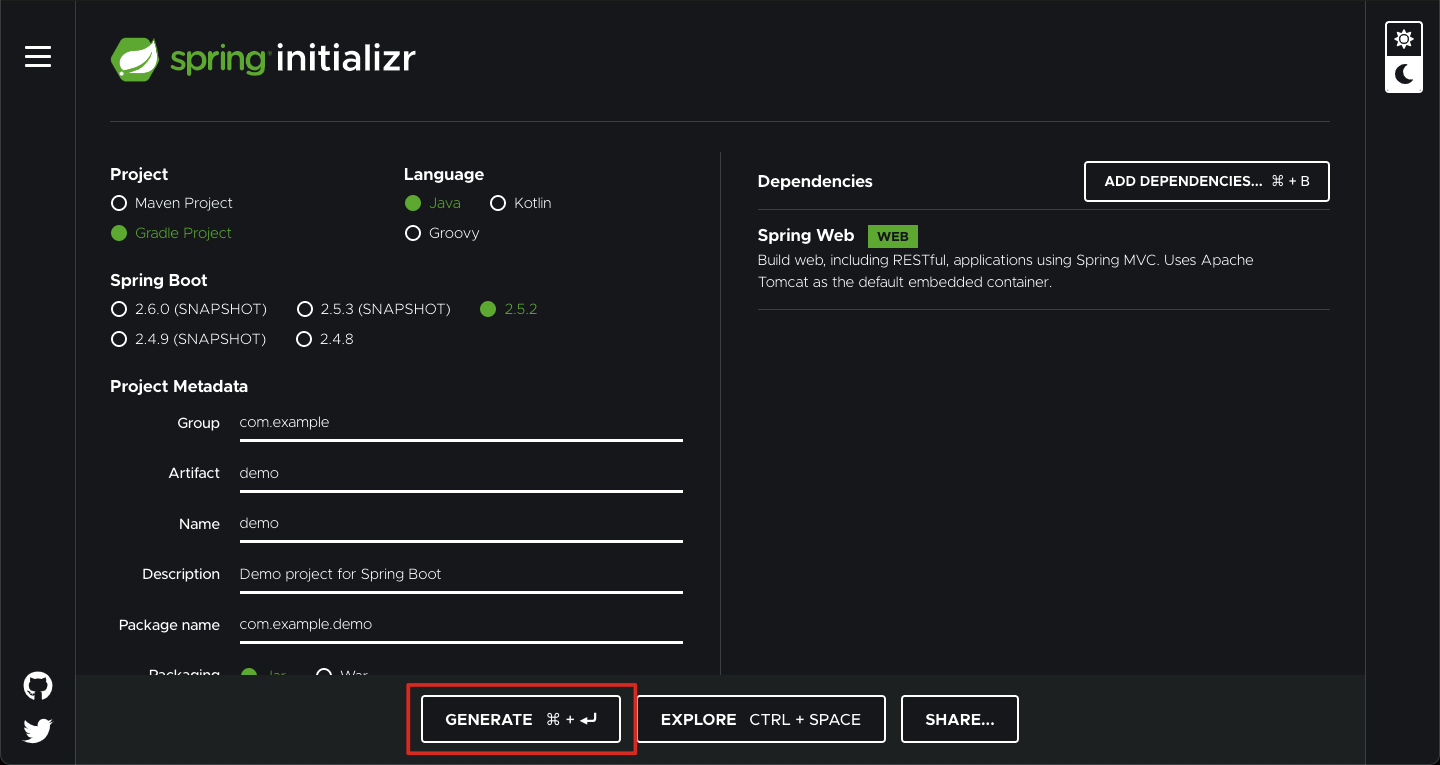
- Genereate下载后解压缩 即可生成初始化项目
接着 实现一个Web接口
1
| vim src/main/java/com/example/demo/DemoController.java
|
1
2
3
4
5
6
7
8
9
10
11
12
| package com.example.demo;
import org.springframework.web.bind.annotation.GetMapping;
import org.springframework.web.bind.annotation.RestController;
@RestController
public class DemoController {
@GetMapping("hello")
public String hello() {
return "Hello World";
}
}
|
最后 启动SpringBoot项目
1
2
3
4
| ./gradlew bootrun
curl localhost:8080/hello
|
打包
1
2
3
4
| ./gradlew build
ls build/libs
|
部署
首先 启动SpringBoot服务
1
2
3
4
| java -jar build/libs/demo-0.0.1-SNAPSHOT.jar
curl localhost:8080/hello
|
然后 安装和配置Nginx => 基于Ubuntu 1804 Server
1
2
3
| sudo apt install -y nginx
sudo vim /etc/nginx/sites-enabled/springboot-demo.conf
|
1
2
3
4
5
6
7
8
9
10
11
12
| server {
listen 80;
server_name springboot-demo.com;
location / {
proxy_set_header Host $host;
proxy_set_header X-Real-IP $remote_addr;
proxy_set_header X-Forwarded-For $proxy_add_x_forwarded_for;
proxy_set_header X-Forwarded-Proto $scheme;
proxy_pass http://127.0.0.1:8080;
}
}
|
接着 确认Nginx配置成功 并重新加载配置以生效
1
2
3
4
5
| sudo nginx -t
sudo nginx -s reload
|
最后 使用浏览器打开http://springboot-demo.com/hello => 注意修改hosts解析域名至该服务IP