MediaPipe简介

On-device machine learning for everyone

手势识别

  • HandTrackingModule.py
1
2
3
4
5
6
7
8
9
10
11
12
13
14
15
16
17
18
19
20
21
22
23
24
25
26
27
28
29
30
31
32
33
34
35
36
37
38
39
40
41
42
43
44
45
46
47
48
49
50
51
52
53
54
55
56
57
58
59
60
61
62
63
64
65
66
67
68
69
70
71
72
73
74
75
76
77
78
79
80
81
82
83
84
85
86
87
88
89
90
91
92
93
94
95
96
97
98
99
import cv2
import mediapipe as mp
import time
import math

class handDetector():
def __init__(self, mode=False, maxHands=2, detectionCon=1, trackCon=0.8):
self.mode = mode
self.maxHands = maxHands
self.detectionCon = detectionCon
self.trackCon = trackCon

self.mpHands = mp.solutions.hands
self.hands = self.mpHands.Hands(self.mode, self.maxHands, self.detectionCon, self.trackCon)
self.mpDraw = mp.solutions.drawing_utils
self.tipIds = [4, 8, 12, 16, 20]

def findHands(self, img, draw=True):
imgRGB = cv2.cvtColor(img, cv2.COLOR_BGR2RGB)
self.results = self.hands.process(imgRGB)

print(self.results.multi_handedness) # 获取检测结果中的左右手标签并打印

if self.results.multi_hand_landmarks:
for handLms in self.results.multi_hand_landmarks:
if draw:
self.mpDraw.draw_landmarks(img, handLms, self.mpHands.HAND_CONNECTIONS)
return img

def findPosition(self, img, draw=True):
self.lmList = []
if self.results.multi_hand_landmarks:
for handLms in self.results.multi_hand_landmarks:
for id, lm in enumerate(handLms.landmark):
h, w, c = img.shape
cx, cy = int(lm.x * w), int(lm.y * h)
# print(id, cx, cy)
self.lmList.append([id, cx, cy])
if draw:
cv2.circle(img, (cx, cy), 12, (255, 0, 255), cv2.FILLED)
return self.lmList

def fingersUp(self):
fingers = []
# 大拇指
if self.lmList[self.tipIds[0]][1] > self.lmList[self.tipIds[0] - 1][1]:
fingers.append(1)
else:
fingers.append(0)

# 其余手指
for id in range(1, 5):
if self.lmList[self.tipIds[id]][2] < self.lmList[self.tipIds[id] - 2][2]:
fingers.append(1)
else:
fingers.append(0)

# totalFingers = fingers.count(1)
return fingers

def findDistance(self, p1, p2, img, draw=True, r=15, t=3):
x1, y1 = self.lmList[p1][1:]
x2, y2 = self.lmList[p2][1:]
cx, cy = (x1 + x2) // 2, (y1 + y2) // 2

if draw:
cv2.line(img, (x1, y1), (x2, y2), (255, 0, 255), t)
cv2.circle(img, (x1, y1), r, (255, 0, 255), cv2.FILLED)
cv2.circle(img, (x2, y2), r, (255, 0, 255), cv2.FILLED)
cv2.circle(img, (cx, cy), r, (0, 0, 255), cv2.FILLED)
length = math.hypot(x2 - x1, y2 - y1)

return length, img, [x1, y1, x2, y2, cx, cy]


def main():
pTime = 0
cTime = 0
cap = cv2.VideoCapture(0)
detector = handDetector()
while True:
success, img = cap.read()
img = detector.findHands(img) # 检测手势并画上骨架信息

lmList = detector.findPosition(img) # 获取得到坐标点的列表
if len(lmList) != 0:
print(lmList[4])

cTime = time.time()
fps = 1 / (cTime - pTime)
pTime = cTime

cv2.putText(img, 'fps:' + str(int(fps)), (10, 70), cv2.FONT_HERSHEY_PLAIN, 3, (255, 0, 255), 3)
cv2.imshow('Image', img)
cv2.waitKey(1)


if __name__ == "__main__":
main()
  • AiVirtualMouse.py
1
2
3
4
5
6
7
8
9
10
11
12
13
14
15
16
17
18
19
20
21
22
23
24
25
26
27
28
29
30
31
32
33
34
35
36
37
38
39
40
41
42
43
44
45
46
47
48
49
50
51
52
53
54
55
56
57
58
59
60
61
62
63
64
65
import cv2
import HandTrackingModule as htm
import autopy
import numpy as np
import time

##############################
wCam, hCam = 1280, 720
frameR = 100
smoothening = 5
##############################
cap = cv2.VideoCapture(0) # 若使用笔记本自带摄像头则编号为0 若使用外接摄像头 则更改为1或其他编号
cap.set(3, wCam)
cap.set(4, hCam)
pTime = 0
plocX, plocY = 0, 0
clocX, clocY = 0, 0

detector = htm.handDetector()
wScr, hScr = autopy.screen.size()
# print(wScr, hScr)

while True:
success, img = cap.read()
# 1. 检测手部 得到手指关键点坐标
img = detector.findHands(img)
cv2.rectangle(img, (frameR, frameR), (wCam - frameR, hCam - frameR), (0, 255, 0), 2, cv2.FONT_HERSHEY_PLAIN)
lmList = detector.findPosition(img, draw=False)

# 2. 判断食指和中指是否伸出
if len(lmList) != 0:
x1, y1 = lmList[8][1:]
x2, y2 = lmList[12][1:]
fingers = detector.fingersUp()

# 3. 若只有食指伸出 则进入移动模式
if fingers[1] and fingers[2] == False:
# 4. 坐标转换: 将食指在窗口坐标转换为鼠标在桌面的坐标
# 鼠标坐标
x3 = np.interp(x1, (frameR, wCam - frameR), (0, wScr))
y3 = np.interp(y1, (frameR, hCam - frameR), (0, hScr))

# smoothening values
clocX = plocX + (x3 - plocX) / smoothening
clocY = plocY + (y3 - plocY) / smoothening

autopy.mouse.move(wScr - clocX, clocY)
cv2.circle(img, (x1, y1), 15, (255, 0, 255), cv2.FILLED)
plocX, plocY = clocX, clocY

# 5. 若是食指和中指都伸出 则检测指头距离 距离够短则对应鼠标点击
if fingers[1] and fingers[2]:
length, img, pointInfo = detector.findDistance(8, 12, img)
if length < 40:
cv2.circle(img, (pointInfo[4], pointInfo[5]),
15, (0, 255, 0), cv2.FILLED)
autopy.mouse.click()

cTime = time.time()
fps = 1 / (cTime - pTime)
pTime = cTime
cv2.putText(img, f'fps:{int(fps)}', [15, 25],
cv2.FONT_HERSHEY_PLAIN, 2, (255, 0, 255), 2)
cv2.imshow("Image", img)
cv2.waitKey(1)
1
2
3
4
5
6
7
8
9
mkdir -p ~/miniconda3
curl https://repo.anaconda.com/miniconda/Miniconda3-latest-MacOSX-arm64.sh -o ~/miniconda3/miniconda.sh
bash ~/miniconda3/miniconda.sh -b -u -p ~/miniconda3
rm -rf ~/miniconda3/miniconda.sh
~/miniconda3/bin/conda init zsh

CONDA_SUBDIR=osx-64 conda create -n py37 python=3.7
conda activate py37
conda config --env --set subdir osx-64
1
2
3
pip install autopy mediapipe numpy opencv-python

python AiVirtualMouse.py

目标检测

Python

  • ObjectDetector.py
1
2
3
4
5
6
7
8
9
10
11
12
13
14
15
16
17
18
19
20
21
22
23
24
25
26
27
28
29
30
31
32
33
34
35
36
37
38
39
40
41
42
43
44
45
46
47
48
49
50
51
52
53
54
55
56
57
58
59
60
61
import cv2
import numpy as np
import mediapipe as mp
from mediapipe.tasks import python
from mediapipe.tasks.python import vision

MARGIN = 10 # pixels
ROW_SIZE = 10 # pixels
FONT_SIZE = 1
FONT_THICKNESS = 1
TEXT_COLOR = (255, 0, 0) # red

IMAGE_FILE = 'image.jpg'

def visualize(
image,
detection_result
) -> np.ndarray:
"""Draws bounding boxes on the input image and return it.
Args:
image: The input RGB image.
detection_result: The list of all "Detection" entities to be visualize.
Returns:
Image with bounding boxes.
"""
for detection in detection_result.detections:
# Draw bounding_box
bbox = detection.bounding_box
start_point = bbox.origin_x, bbox.origin_y
end_point = bbox.origin_x + bbox.width, bbox.origin_y + bbox.height
cv2.rectangle(image, start_point, end_point, TEXT_COLOR, 3)

# Draw label and score
category = detection.categories[0]
category_name = category.category_name
probability = round(category.score, 2)
result_text = category_name + ' (' + str(probability) + ')'
text_location = (MARGIN + bbox.origin_x,
MARGIN + ROW_SIZE + bbox.origin_y)
cv2.putText(image, result_text, text_location, cv2.FONT_HERSHEY_PLAIN,
FONT_SIZE, TEXT_COLOR, FONT_THICKNESS)

return image

# STEP 1: Create an ObjectDetector object.
base_options = python.BaseOptions(model_asset_path='efficientdet.tflite')
options = vision.ObjectDetectorOptions(base_options=base_options,
score_threshold=0.5)
detector = vision.ObjectDetector.create_from_options(options)

# STEP 2: Load the input image.
image = mp.Image.create_from_file(IMAGE_FILE)

# STEP 3: Detect objects in the input image.
detection_result = detector.detect(image)

# STEP 4: Process the detection result. In this case, visualize it.
image_copy = np.copy(image.numpy_view())
annotated_image = visualize(image_copy, detection_result)
rgb_annotated_image = cv2.cvtColor(annotated_image, cv2.COLOR_BGR2RGB)
cv2.imwrite("result.png", rgb_annotated_image)
1
2
3
4
5
wget -q -O efficientdet.tflite -q https://storage.googleapis.com/mediapipe-models/object_detector/efficientdet_lite0/int8/1/efficientdet_lite0.tflite
wget -q -O image.jpg https://storage.googleapis.com/mediapipe-tasks/object_detector/cat_and_dog.jpg

conda create -n py38 python=3.8
conda activate py38
1
2
3
pip install mediapipe==0.10.9 numpy opencv-python

python ObjectDetector.py

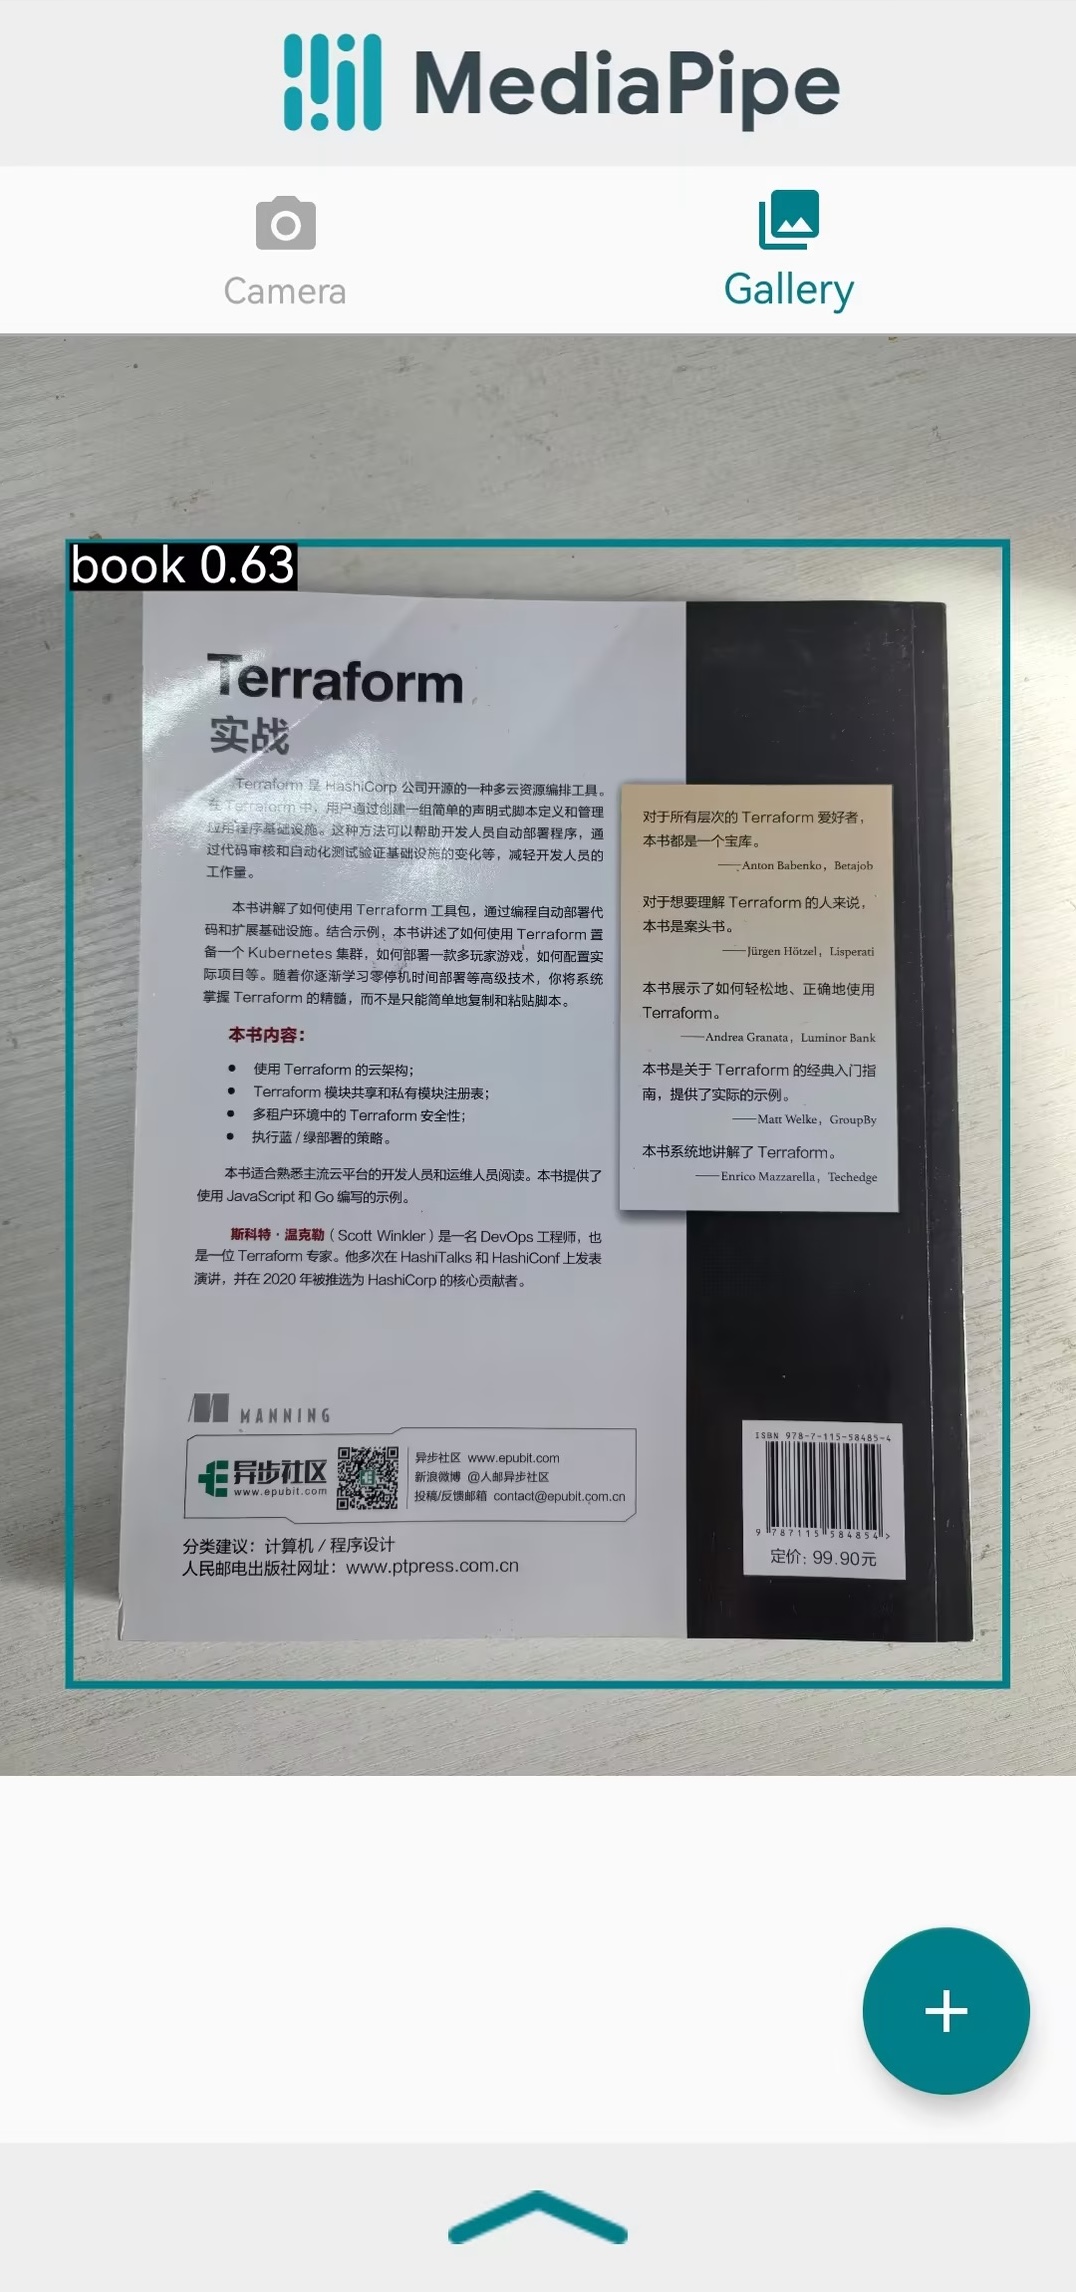
Android

1
2
git clone https://github.com/googlesamples/mediapipe.git
# 使用Android Studio打开项目mediapipe/examples/object_detection/android

mediapipe-01.jpg

参考